NetGain Enterprise Manager can discover & add devices in seconds. This can be done through various methods, with the easiest way is to add the range of IPs and leave the rest to NetGain Enterprise Manager.
Devices can only be monitored if the SNMP in the them are switched on.
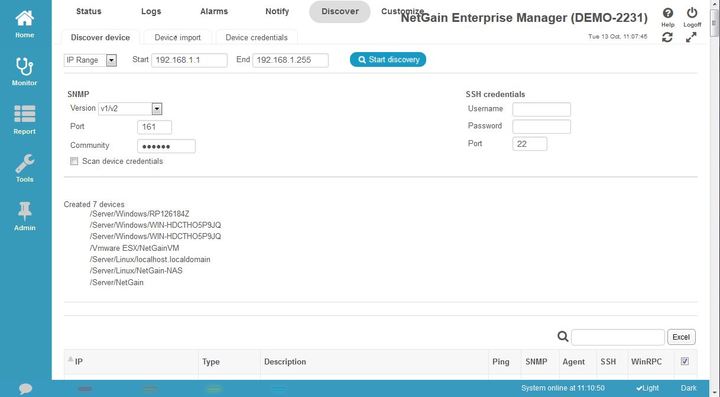
After scanning the IP range, NetGain Enterprise Manager will display the result to show if the device can be pinged and/or monitored via SNMP.
If the device has a tick under Ping, but a cross under SNMP, this means NetGain Enterprise Manager can communicate with the device but not monitor the health status provided by SNMP.
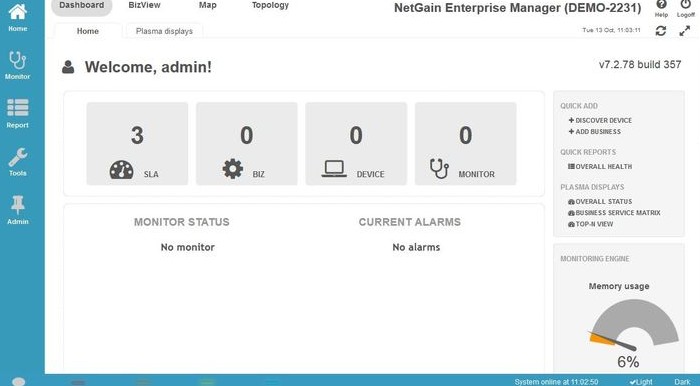
When you log into a fresh install of NetGain Enterprise Manager, there will be no devices detected yet. To discover and add devices, click on Monitor -> Discover.
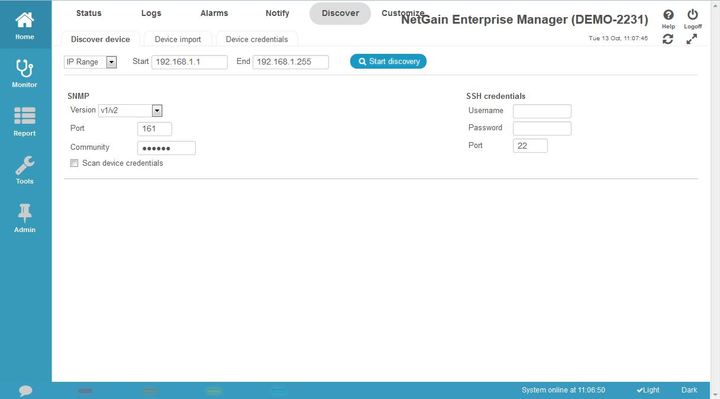
Select IP Range and enter the IP address from Start to End.
Select the version V1/V2 and enter the Port number as 161. Enter the Community which is “public” as default.
Click Start Discovery.
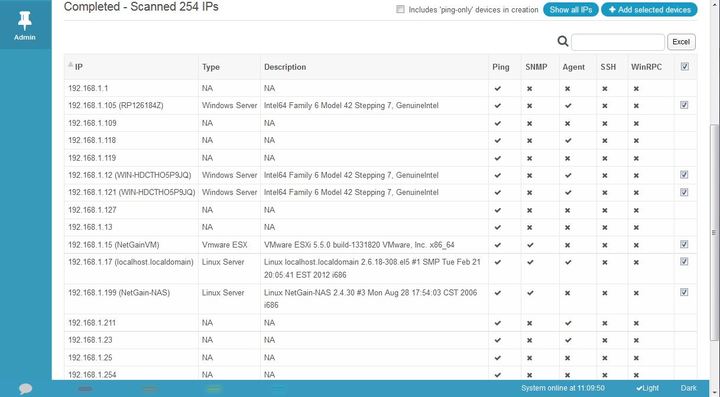
You will soon see the status of the individual IP addresses. Devices that can communicate with NetGain Enterprise Manager will have a tick under Ping.
Devices that have SNMP enabled and correspond to the community “public” will have a tick under SNMP.
After selecting the devices to be added, just click Add selected devices.
NetGain Enterprise Manager will display the devices added. You click on the devices directly or click onMonitor -> Devices to see what devices can be monitored.
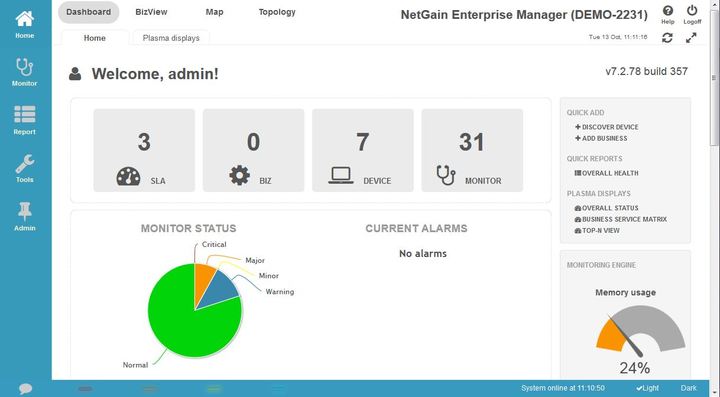
In seconds, NetGain Enterprise Manager has discovered devices and added them to be monitored accordingly.